AI Image Upscaling to 4K: A Practical Quality Checklist
Plan a 4K image upscale, check dimensions, compare fine details and record costs. A practical workflow with quality checks before publishing.
Upscaling increases image dimensions. A larger file is not proof that missing detail has been recovered: inspect faces, lettering and product edges before publishing.
Choose a target size
Write down the source and required output dimensions. A 1920 × 1080 image needs a 2× increase in each dimension to reach 3840 × 2160. A square image remains square; enlarging it does not turn it into a widescreen composition.
Prepare the source
Use the highest-quality original you have permission to edit. Keep a copy of the source. Avoid repeatedly downloading and recompressing the same image.
Generate one test
Open the image upscaler, upload the source and choose an available scale. Review the current credit quote before submitting. Start with the smallest scale that meets your output requirements.
Compare before and after
Inspect both versions at the same display size and then inspect the output at 100%. Check eyes, teeth, logos, text and repeated textures. Reject output that changes a product feature or invents important detail.
Export and check dimensions
Download the result and check its actual pixel dimensions and file size. Prepare a separate web-sized export when the full-resolution file would make a page slow. Keep the original for future edits.
Record a repeatable test
For each test, record source dimensions, selected settings, quoted and charged credits, output dimensions and visible artifacts. Compare presets using the same source; do not assume that a larger scale or a more expensive option is better.
Current tool settings
The image tool uses Gemini 3.1 Flash Image with five presets. Choose a preset and requested scale; the available resolution tier controls delivery. A 4K tier is not a guarantee of 3840 × 2160 or an exact multiplication of the source dimensions. Eligible guests have one shared trial with photo restoration; subsequent tasks require sign-in and credits. Video clips use the separate paid Video Upscale tool.
Download the test log templateRejection checks
Do not publish output if lettering changes or a face/product feature is invented. These are rejection criteria, not claims that a documented test failed. The sample records below show five historical tests; their costs and elapsed times were not recorded.
Actual results from this tool
Our own generated images were degraded into test inputs, then processed by our models. Drag to compare. Results vary by input.

 ⇔BeforeAfter
 ⇔BeforeAfter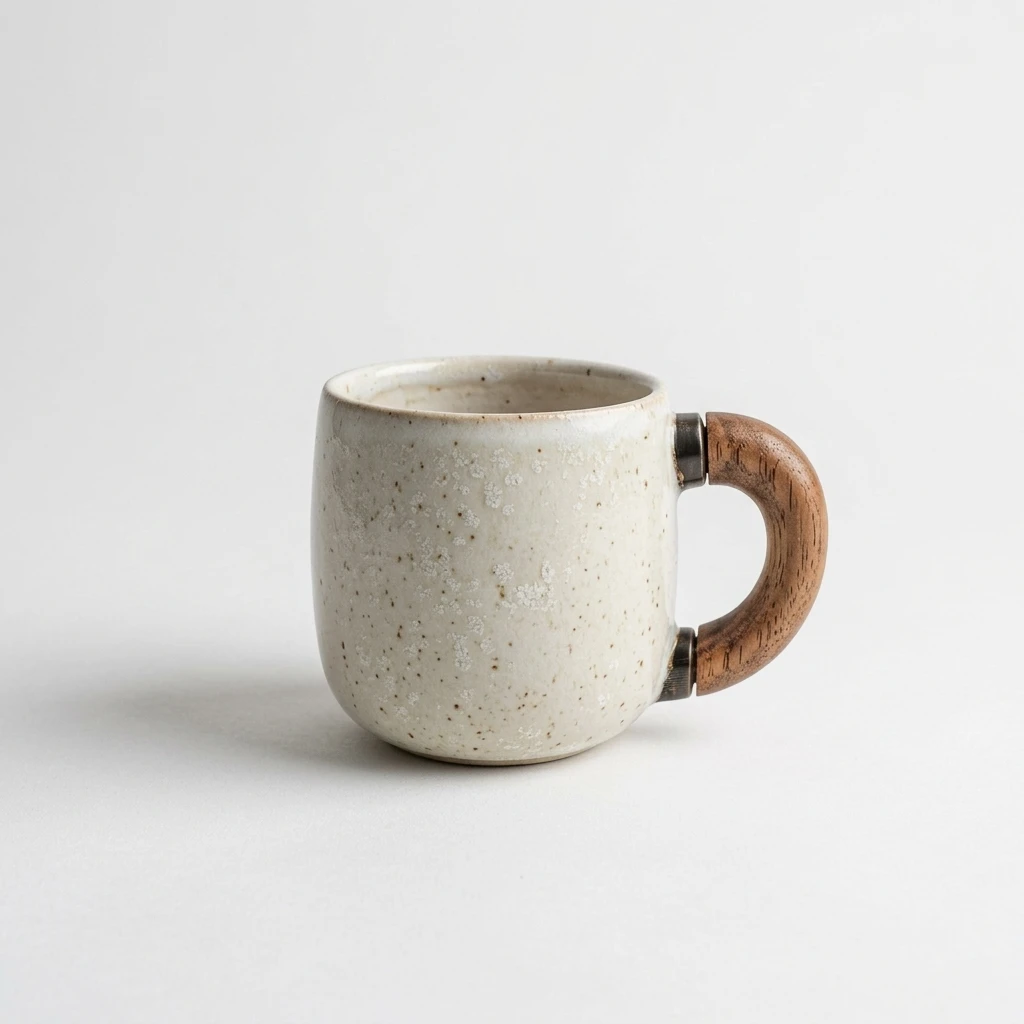
 ⇔BeforeAfter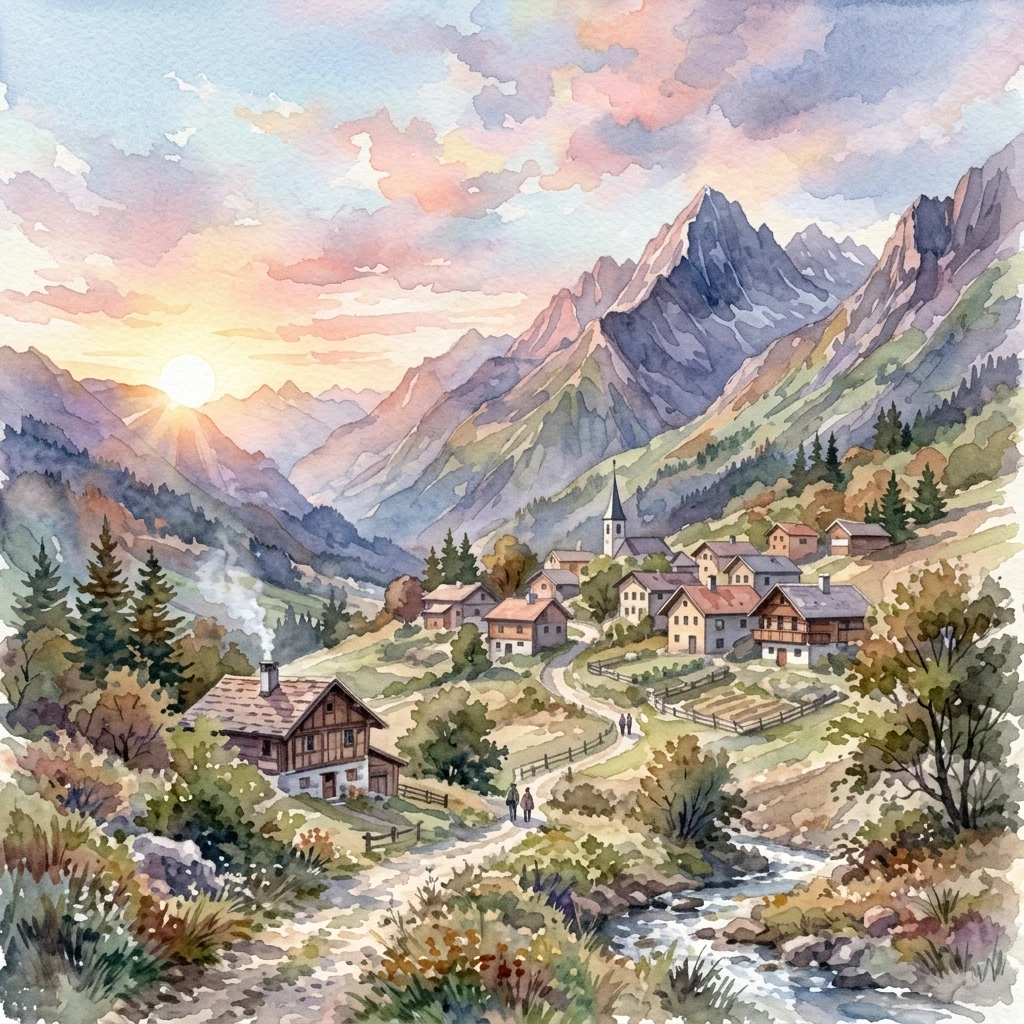
 ⇔BeforeAfter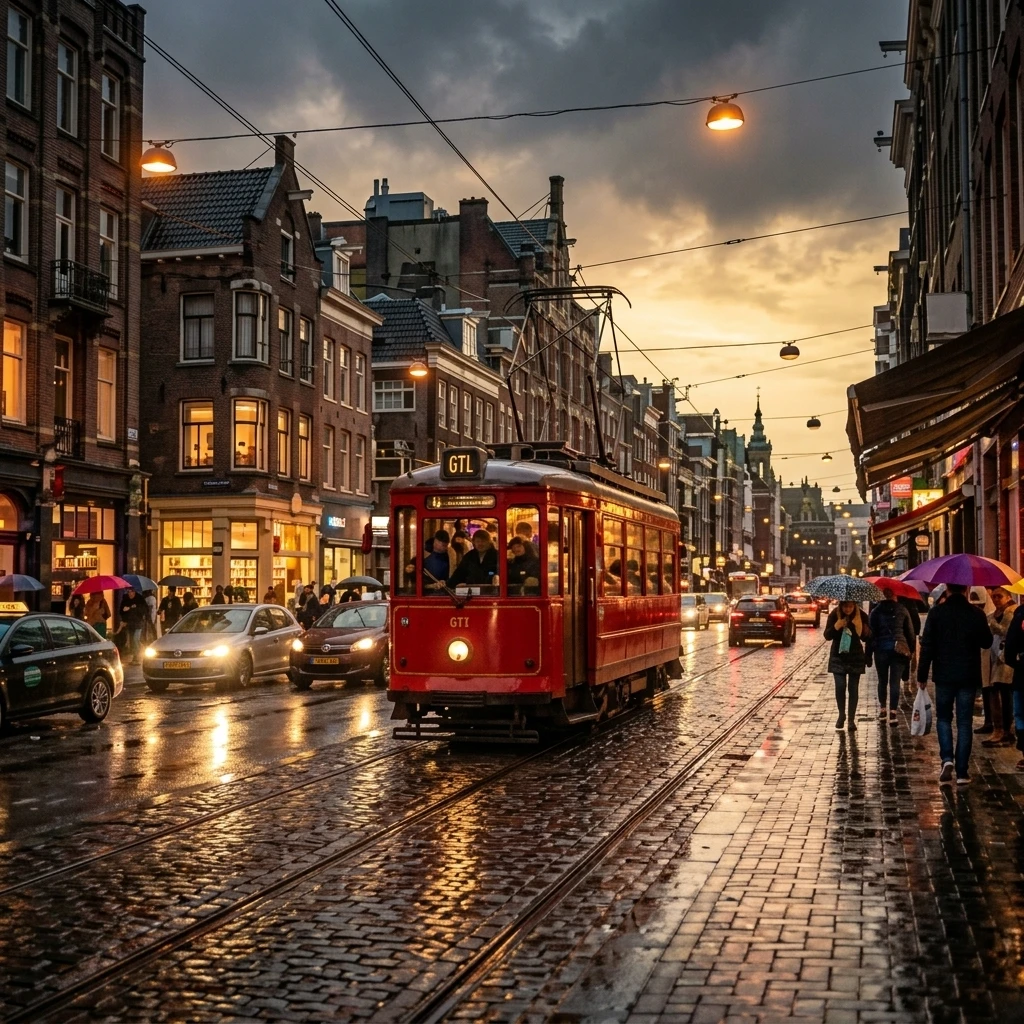
 ⇔BeforeAfter
Keep Reading
The ZNIX editorial team explains AI models using linked primary sources, dated availability checks, and clearly labeled examples. Documentation summaries are distinguished from hands-on benchmarks.
Upload a photo, enhance detail, then compare it with your original before you use it.
One eligible free guest image trial, shared with photo restoration. Settings and usage limits apply; further tasks require sign-in and credits.
Upload an image