Image Upscaling vs Resizing vs Sharpening: Which Do You Need?
Compare image upscaling, resizing and sharpening. Choose a workflow for a small photo, a web export or soft edges, and check whether the result preserves important details.
A 256 × 256 product photo for a 1024 × 1024 slot has a different problem from a large photo with slightly soft edges. Decide whether you need a different size, more pixels or stronger edge contrast before choosing an operation. That can avoid unnecessary generation costs and unwanted detail changes.
What does each operation change?
| Operation | Primary change | Useful task |
|---|---|---|
| Conventional resizing | Changes display size, or pixel dimensions through resampling | Web thumbnails, layout sizes, downsampling a clear large source |
| AI upscaling | Produces a larger pixel image and may reconstruct detail | A source with too few pixels, where generated detail can be reviewed |
| Conventional sharpening | Increases edge contrast, usually keeping pixel dimensions | An adequately sized image with slightly soft edges |
The categories overlap: AI upscaling is one way to resize upward, and an editor can combine sharpening with enlargement. The distinction here is the purpose of an operation, not three mutually exclusive software categories.
Resizing: separate display size from file pixels
Showing a 1024 × 1024 file at 256 × 256 on a web page does not itself rewrite that source file. Exporting a new 256 × 256 image changes the pixel count. Enlarging existing pixels does not establish what the camera failed to record.
Adobe’s image-size documentation separates pixel dimensions, print PPI and resampling; resampling adds or removes pixels. Check width and height in pixels before changing only the PPI label.
A 1024-pixel-wide file printed at 256 PPI spans about four inches. Keeping those pixels but using 128 PPI implies eight inches. That label changes the relationship between pixels and print size; it adds no source detail.
AI upscaling: more pixels require closer review
Consider AI upscaling when the source has fewer pixels than the intended use needs. Generative enhancement may infer texture or reconstruct edges beyond conventional pixel interpolation. Review those additions rather than treating them as an accurate record of the original scene.
The current image tool uses Gemini 3.1 Flash Image with five enhancement presets guiding the same model. The 2×, 4×, 8× and 16× values are targets mapped to available output tiers, up to the available 4K tier. They do not guarantee an exact multiplication of source dimensions or a fixed 3840 × 2160 file. Check the quote and the delivered pixel dimensions.
Sharpening: clearer edges are not a larger image
If pixel dimensions already fit the job and edges look slightly soft, consider ordinary sharpening first. Adobe’s Smart Sharpen documentation describes edge contrast and the radius of affected pixels, and recommends inspecting the effect at 100%.
Check fine edges, skin and backgrounds afterward. Reduce the setting or reject the version if halos, emphasized grain or unnatural outlines appear. Sharpening alone will not turn a 256 × 256 file into a 1024 × 1024 one.
Use one small photo to separate size from detail
This historical sample used our own generated product image, degraded to 256 × 256, then processed with the general photo preset, a 4× target and a 1K tier. The stored output is 1024 × 1024. It demonstrates only that AI workflow, not a quality ranking against conventional resizing or sharpening. Cost and elapsed time were not recorded.
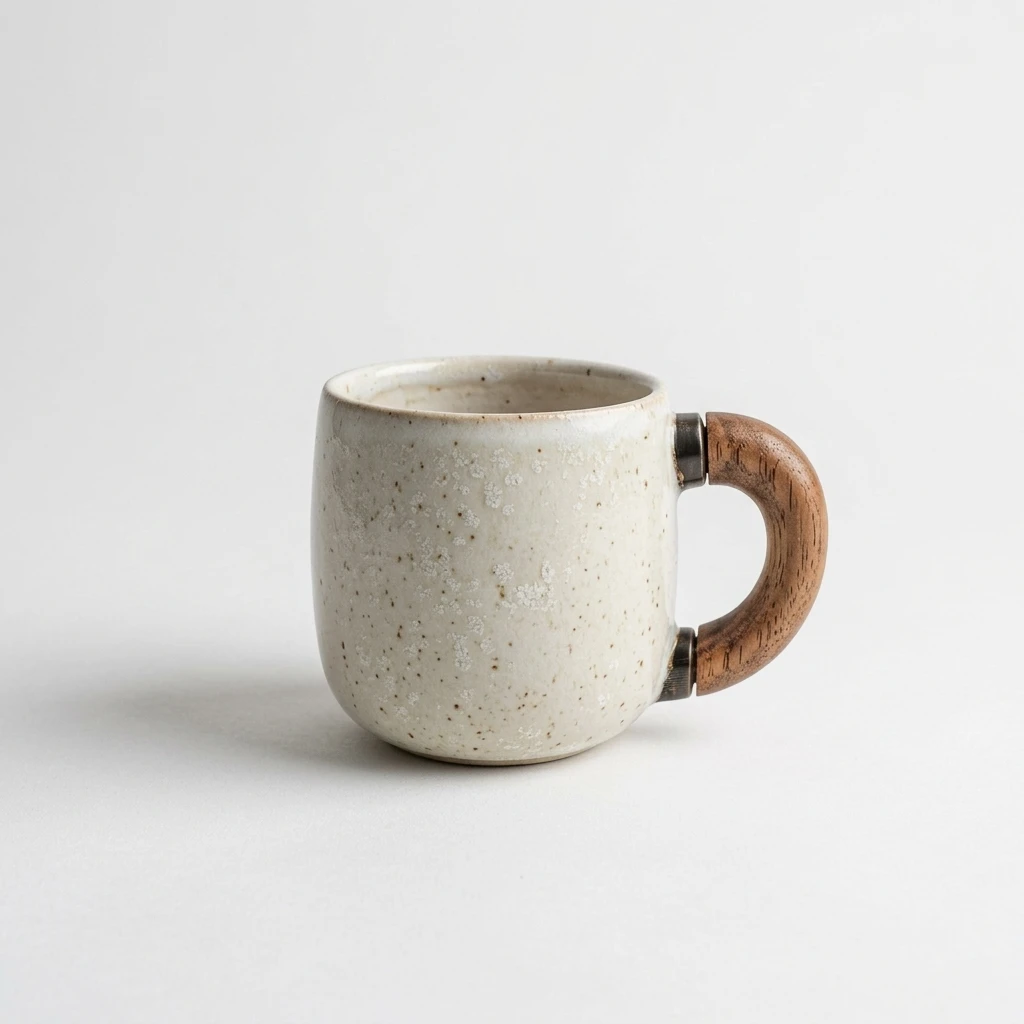
 ⇔Test inputAI output
First display both versions at the same size, then inspect the output at its native size. Compare the rim, handle and base. Larger dimensions are one check; trustworthy product geometry is another.
Choose the smallest workflow that fits the job
- Clear source with enough pixels: start with conventional downsampling or export sizing, keeping the original.
- Enough pixels but slightly soft edges: test mild sharpening on a reversible copy and inspect at 100%.
- Too few pixels: try one AI upscale, check the quote, then verify content and actual dimensions.
- Scratches, damage or fading: assess restoration first instead of routing every issue to the largest scale.
- Changed face, lettering or product geometry: reject the result and seek a better source or another workflow.
If you need more pixels, open the image upscaler. Eligible guests have one image trial shared with photo restoration; subsequent and signed-in tasks use the displayed credit price. For a 4K delivery plan, use the 4K workflow and quality checklist. For footage rather than a still, read the video upscaling tutorial.
Frequently Asked Questions
Does sharpening increase the pixel dimensions of a photo?
Does changing PPI alone add detail?
Can AI upscaling change faces or product details?
Should I always choose the largest scale?
Keep Reading
The ZNIX editorial team explains AI models using linked primary sources, dated availability checks, and clearly labeled examples. Documentation summaries are distinguished from hands-on benchmarks.
Test an image that needs more pixels
Choose one enhancement preset, review the current price and compare the output with your source. Eligible guests have one image trial shared with photo restoration.
Open the image upscaler